I thought about hiring a professional makeup artist on our wedding day, but the appeal of spending the same money on products was just TOO GREAT for Little Miss Makeup Junkie. And after having two excellent trials at MAC and still coming away thinking I could go one better, I reckon I probably made the right decision.
So here it is, my smoky eye. It’s faffy, but it’s worth the effort for a special occasion. I’ve used browns because I had some coppery feathers in my dress, but you could use greys/blues/whatevers in the same varying degrees of depth. Great tip: always do your most difficult eye first, it’s then easier to match it on your good side.
You don’t need to use an eyeshadow primer, but if you want a complicated eye to stay put and looking good for a whole day/long night of partying, then it’s a good idea. This is MAC Paint pot in Painterly, which does the job, and evens out my rubbish skin tone nicely.

While that’s sinking into the skin, brush the brows and define with a brow pencil. This is just an ancient Rimmel one.


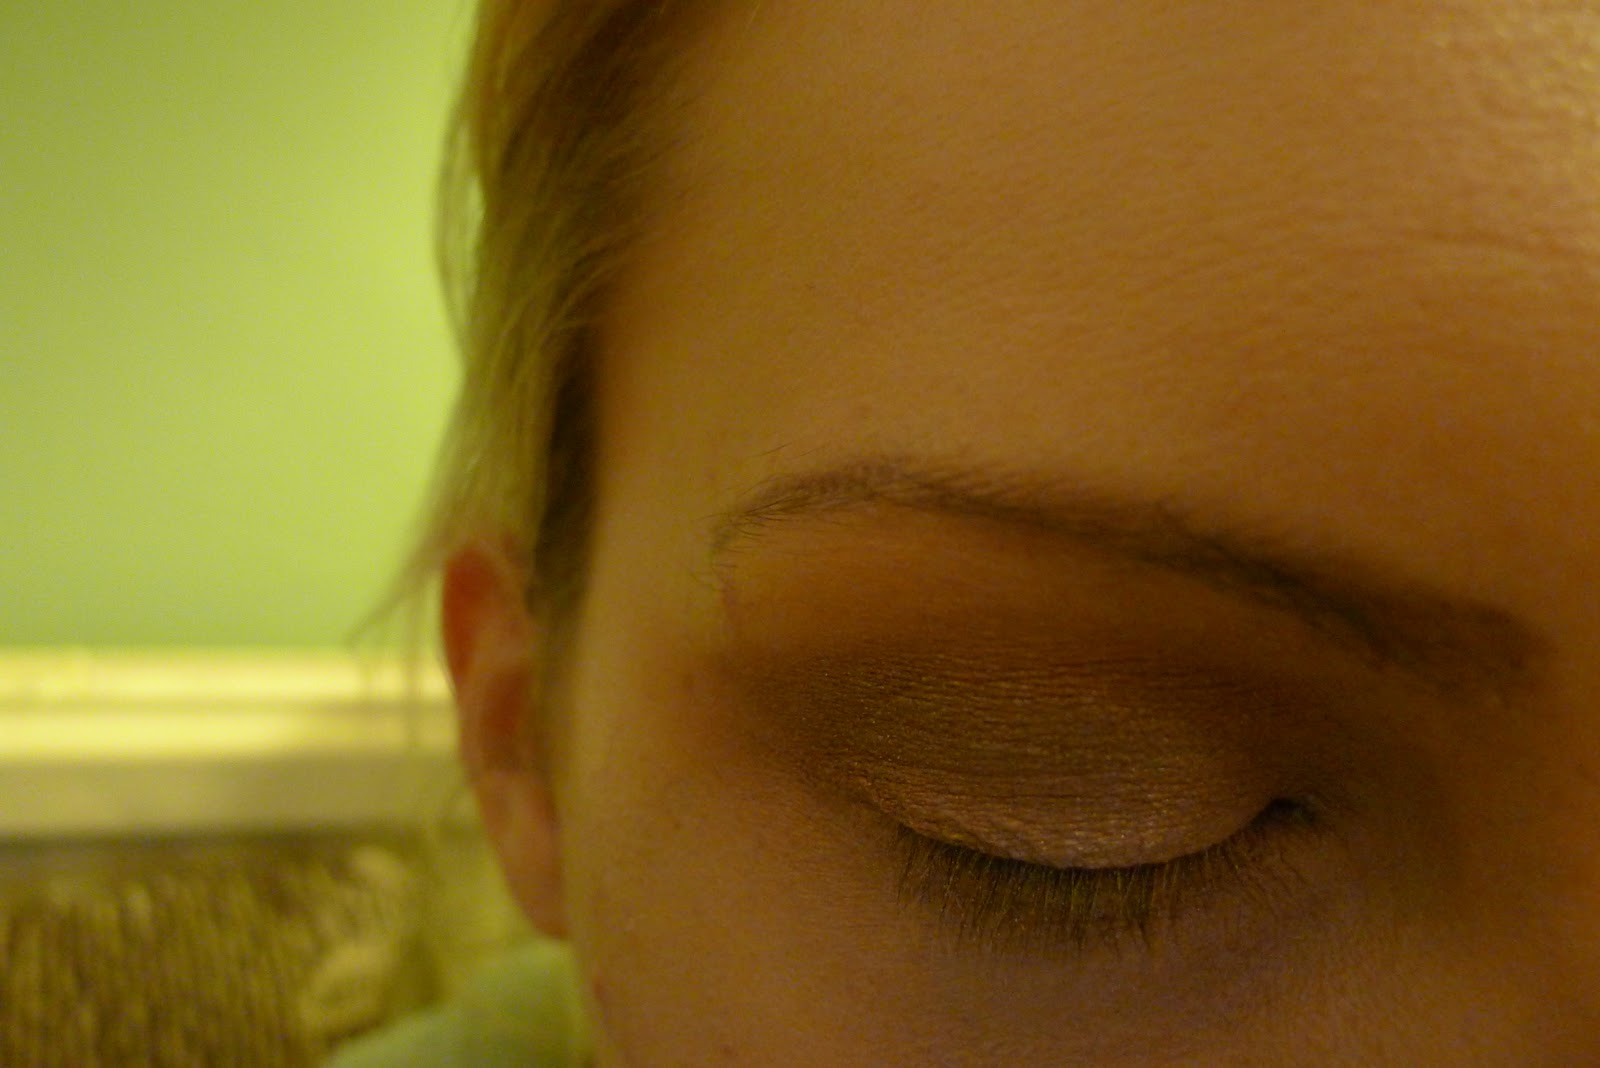
Now a mid brown into the crease, and blend it up into the socket.

You could leave it there, but to add a bit of drama use an angled brush to press a really dark brown into the crease of your eyelid.
Highlight a little bit (my MAC man told me to be careful not to go “too Jordan” with highlighter - something I am definitely a little guilty of). I used a brush of pearly white in the corner of the eye, and a sweep of Benefit High Beam under the brow.
Liner next, and you cannot fail with a good quality angled liner brush and a gel pot. It is FOOL PROOF and magical.

But one line is not enough! I then use a pencil on the lower lashes, then the lower and upper water line (warning, depending on the set of your eyes/how much sleep you’ve had, this may make them look squinty)

Curl lashes for a WHOLE MINUTE each side and paint. It doesn’t matter how many expensive mascaras I try, I always go back to Rimmel Volume Flash. One big coat with a wiggle through, then another to separate out the lashes and add definition to the tips.

I did use false lashes on the day too, mainly because I knew they’d look better on camera. But for today (as I am going to teach Pilates rather than getting married) I haven't bothered, as I never seem to be able to keep a pair for more than one wear. Do the rest of your makeup after your eyes - no point putting foundation on if it's going to get bits of eyeshadow stuck in it!

Oh look! I found some better light, right at the end. I will never be a photographer. Also, macro makes me look like a conehead. Ace!
No comments:
Post a Comment